How to Install a Pleated Blind?
Step-by-Step Pleated Blind Installation
Pleated blind installation is done with three different methods: screwed, adhesive and framed (Perfect Fit). Which method is right depends on your window type and the question "can I drill?". All three methods work flawlessly for years when applied correctly — the critical factors are surface preparation and proper cord tension adjustment.
Which Installation Method is Right for You?
| Method | Advantage | Suitable Surface | Duration |
|---|---|---|---|
| Screwed | Sturdiest and most permanent installation | PVC, wood, aluminium frame | 20-30 min |
| Adhesive (3M) | No drilling, tenant-friendly | Glass, PVC surface | 10-20 min + 24 hours curing |
| Framed (Perfect Fit) | No drilling, integrated look on sash | PVC double-glazed window sash | 10-15 min |
Screwed Installation (Step by Step)
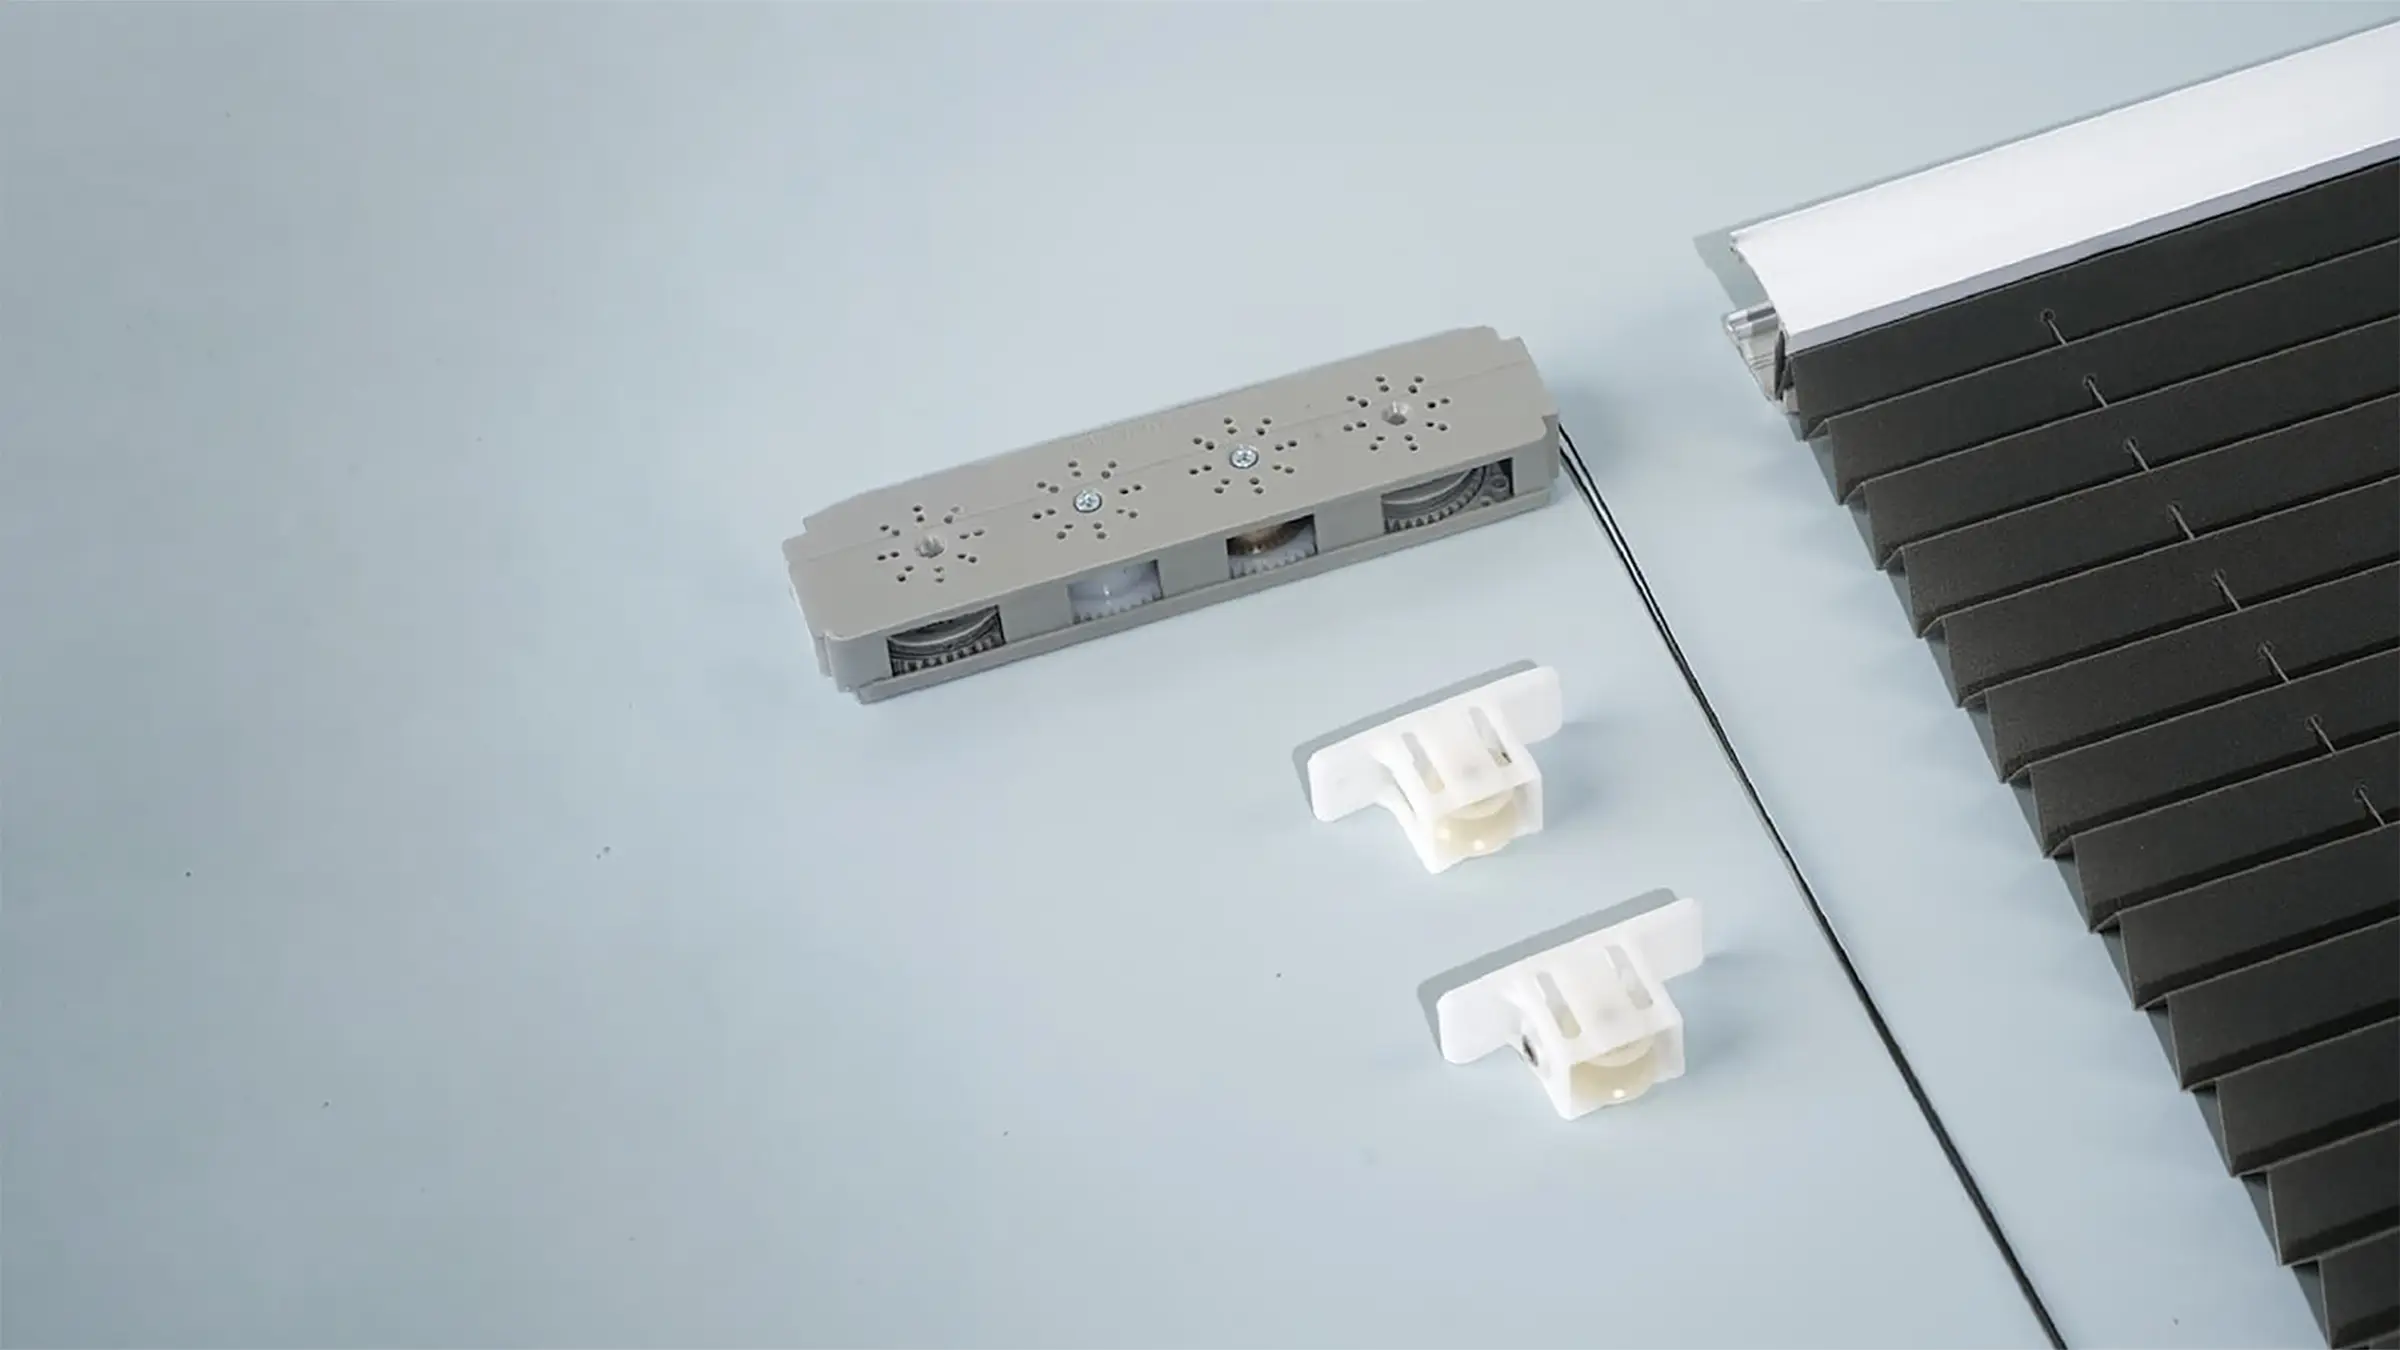
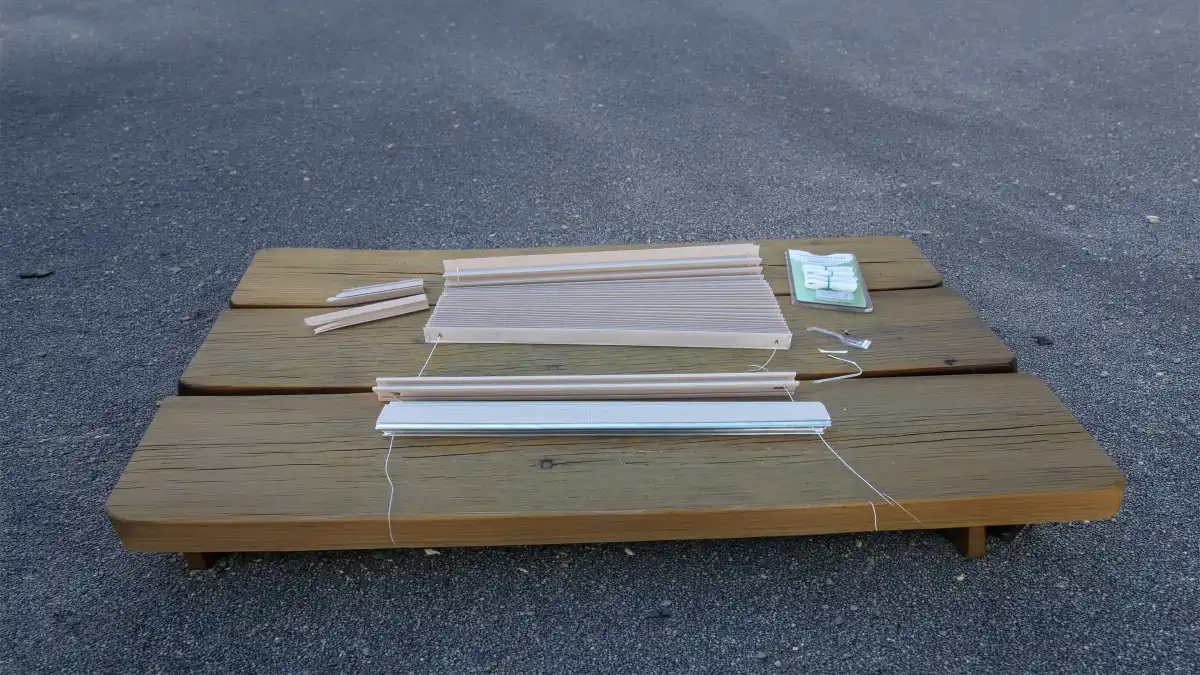
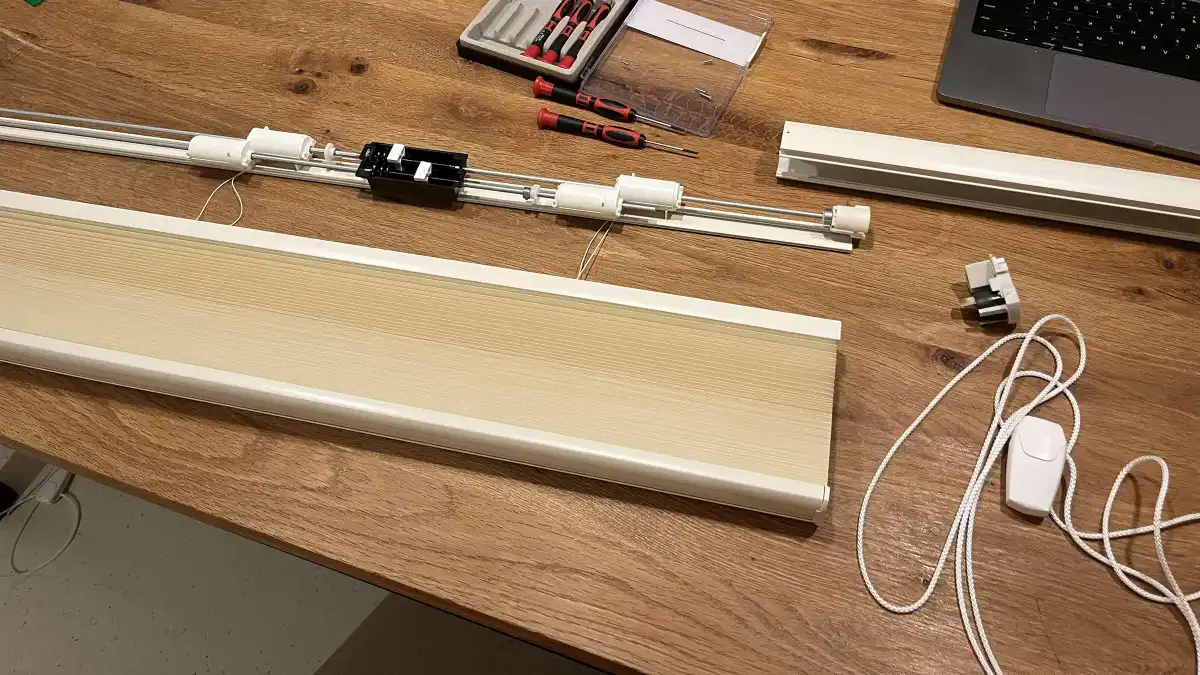
- Open the packaging: When removing the blind, watch the cords under the stretch film — don't cut the cords when removing the tapes.
- Mark the mounting points: Mark where the mounting feet will be screwed at the four corners. The open side of the fittings should face inward, the closed side outward.
- Screw the feet: First drill pilot holes with a 2-2.5 mm bit, then fix the feet with the screws that come with the package. Don't use external screws — screws matching the profile size are essential.
- Attach the blind: First push the mounting fittings on the top profile onto the top feet from inside to outside. At this stage, having someone hold the top profile makes the job easier.
- Tension the cords: Pull the hanging cords to make them taut. Push the fittings at the cord ends onto the bottom mounting feet outward. Cut excess cord.
- Test: Open and close the blind a few times. The blind should gather evenly and stay in the released position.
Adhesive Installation (3M Tape)
- Wipe the surface to be glued with the solution wipe that comes with the product or an alcohol-based cleaner — dust, oil and moisture kill adhesion.
- Make sure the surface is completely dry.
- Peel off the protective film from the 3M tape on the profile, don't touch the tape.
- Align the profile to the correct position in one go and apply strong pressure for 30 seconds — 3M tape sticks once, it can't be removed and re-stuck. There should be no white air gap at the tape edges.
- Attach the blind to the profile; wait 24 hours for full strength. Application should be done above 15°C — initial holding power drops in cold.
Framed (Perfect Fit) Installation
In the framed system, the blind comes mounted inside a frame that surrounds the window sash. There is no drilling and no gluing: the frame is fitted to the glass bead of the PVC window sash with special runners. The blind that opens and closes with the sash offers a fully integrated look. The only requirement: the glass bead measurement must fit the frame runners — bead depth is reported when measuring.
Fine Adjustment After Installation
If the blind stands crooked, it means one side's cord is loose: open the cord connection at the bottom corner and re-tie it by pulling the cord taut. If the blind slides down by itself, the overall tension is low — tension both cords equally. If the blind is too tight (hard to open), loosen the cord a bit.
When is Professional Installation Required?
- Sloped, ceiling and triangular windows — guide wire tensioning requires special fittings
- Motorized systems — requires electrical connection and channel adjustment
- Double-glazing units
- High and hard-to-reach surfaces
On standard rectangular windows you can do the installation yourself;... However, with our free inspection and installation service, both measurement and installation risk are eliminated.
Frequently Asked Questions